Manage EnCaps
If you are looking out for the next big for the next marketing trend and engage with your customers, get ahead of the game now with Progressive Web Apps powered by Twixor EnCaps. Progressive Web Apps (or PWAs) are a way for you to give your customers an app-like experience without getting your customers to install a dedicated mobile app. PWAs remove the hassle of asking your customers to go to the App Store / Play Store, search for your app and install it. It will open in your customers’ phone’s web-browser, no matter what phone they are using, and since it is delivered from the Web directly, you can modify the App as many times as you want without the customer needing to update a dedicated app every time.
In addition to this, Twixor EnCaps is also backed up with a powerful automation engine with which you can delight the customers by sending EnCaps through any channel of your choice.
This page explains the assorted activities associated with the creation and termination of EnCaps. Go through these techniques, it will help you create and delete EnCaps.
Create, Search, and Delete EnCaps
Create an EnCap
In this page, you can create as many EnCaps as you need to engage with your customers to generate as many customer interactions as you need. And, existing EnCaps can also be searched based on the name of EnCap.
Pursue the steps below to create, search, and delete the EnCaps.
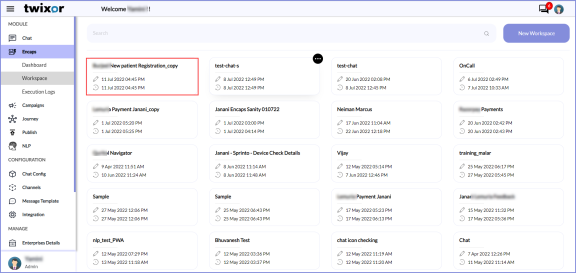
1. Head to Encaps -> Workspace.
In this page, you can view the list of already created EnCaps.

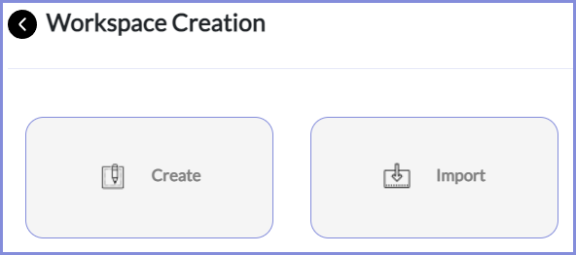
2. Click New Workspace -> Create button to create a new EnCap.
3. Go ahead and enter the name of the EnCap as Book Store in Workspace Name column.

4. Click Create to create a new EnCap or Cancel to invalidate the action. Congratulations! you have created an EnCap for Book Store.
And the Book Store EnCap will be displayed in the list of created EnCaps.
5. After the successful creation of EnCap, you will be able to design the EnCap work flow by clicking Open Designer that will be discussed in the topic Design Workflow using EnCap Designer.
Import/Export the EnCaps
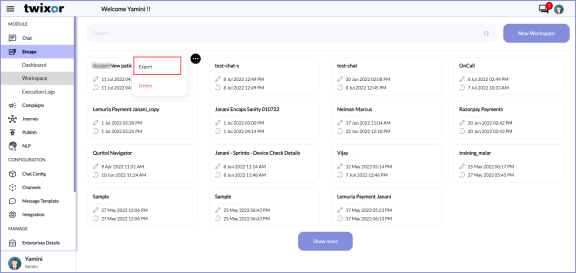
How to export the EnCap
You can also export your EnCap to a .zip file. Since the EnCap backup generates a .zip file, they can be accessed on any device, as long as you have an application capable of accessing them.
- Navigate to Encaps -> Workspace main menu and select EnCaps.
- Click the
icon and Export button next to the EnCap you wish to export.
-
You’ll view the EnCaps exported to the .zip file containing all the portions of the EnCap - authconfig, buttons, campaigns, forms, pwa themes, and message templates JSON files.

Import your EnCap from the EnCap exports to quickly get started with an EnCap in Twixor.
How to Import EnCaps
- Navigate to Encaps -> Workspace main menu and select Encaps.
- Click New Workspace -> Import button to import the EnCaps.
- Click Upload a file, choose the exported Zip file you wish to import.
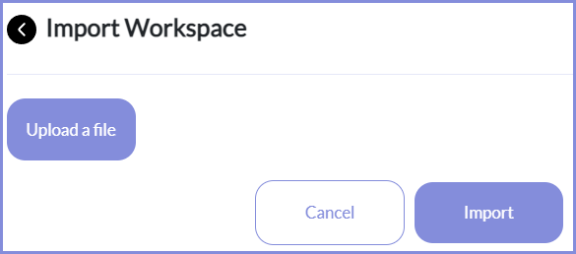
- Click Import button to import the EnCap exported in Twixor.
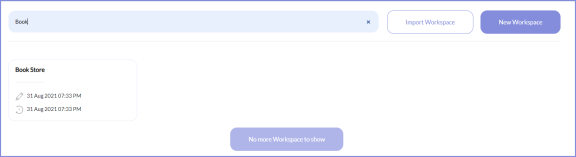
Search the desired EnCap
If you know either a certain portion or full name of the EnCap, you can explore it by entering the EnCap name in the search box.
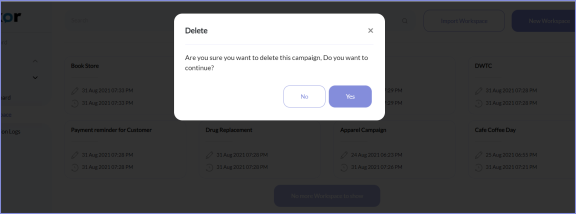
Delete EnCap
If you don't want the EnCap anymore, delete it by clicking and delete button next to the name of the EnCap. A confirmation message "Are you sure to want to delete this campaign, Do you want to Continue?" for deactivating the EnCaps will be displayed. Click Yes to delete the EnCap.